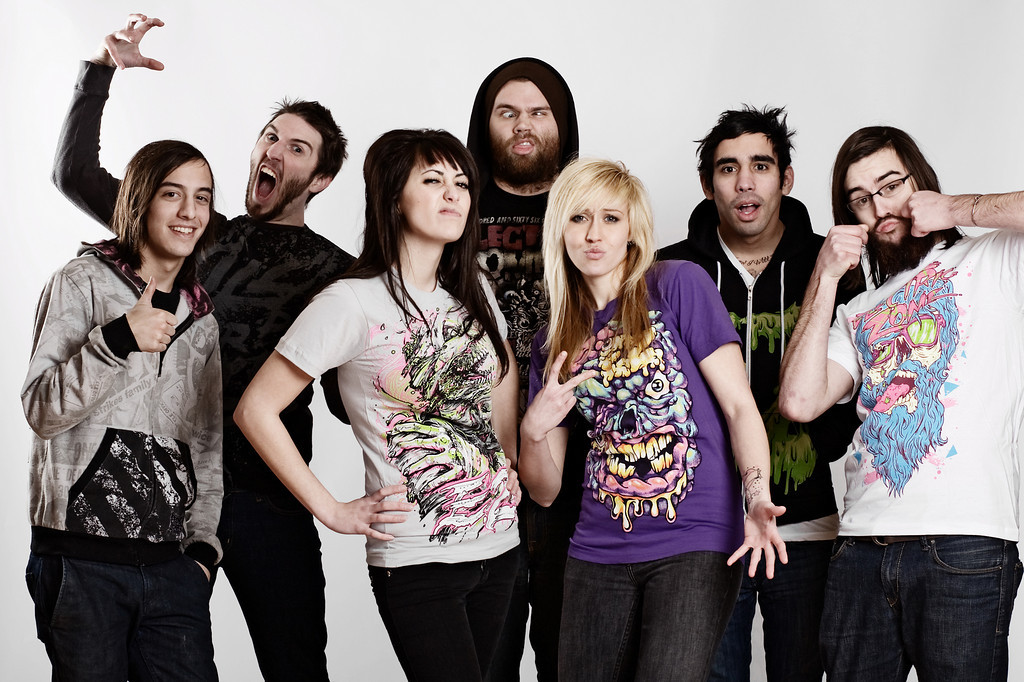
I have been shooting for Kyle Crawford for about 4 or 5 years now and we have done 12 photoshoots in total. Kyle’s main job is to create shirt designs for bands – and if you have ever been to a Hot Topic you would have seen his creations. However he also has two of his own clothing companies, Electric Zombie and Grave Takers. This is where he brings his passion for classic horror movies and comic books to life. Over the years Kyle’s brand has slowly evolved into two separate and well-thought-out brands with cult followings.
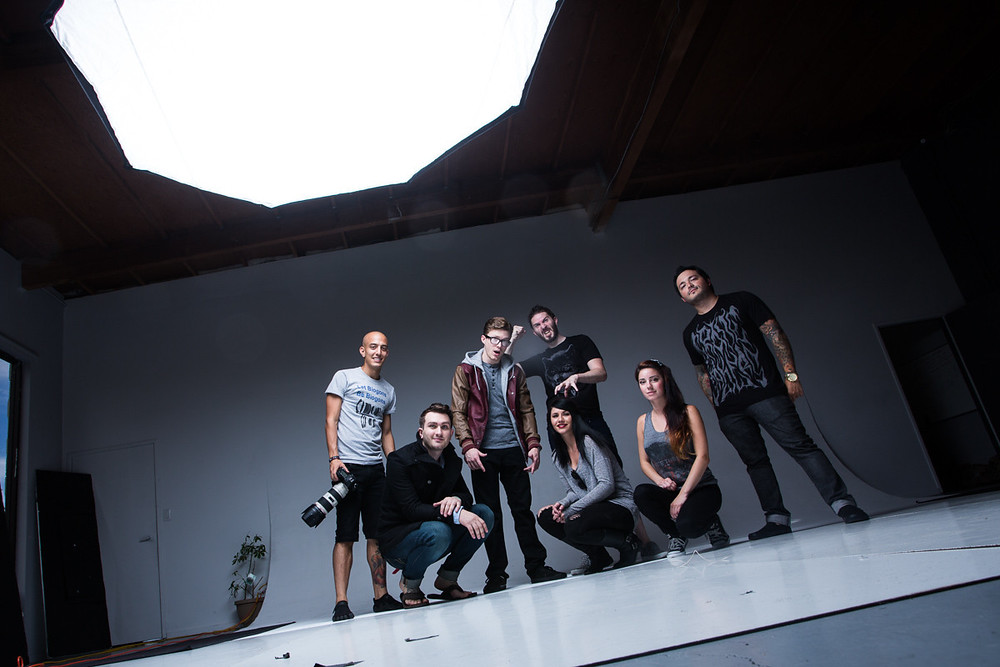
So every few months Kyle flies out to San Diego for a weekend with two suitcases full of freshly printed clothes and we snap a bunch of product shots. We always use amateur models cause we like that natural look. I look forward to Kyle coming out because while he is here we also get the best food. It’s how we roll, and San Diego has so much good food offer.
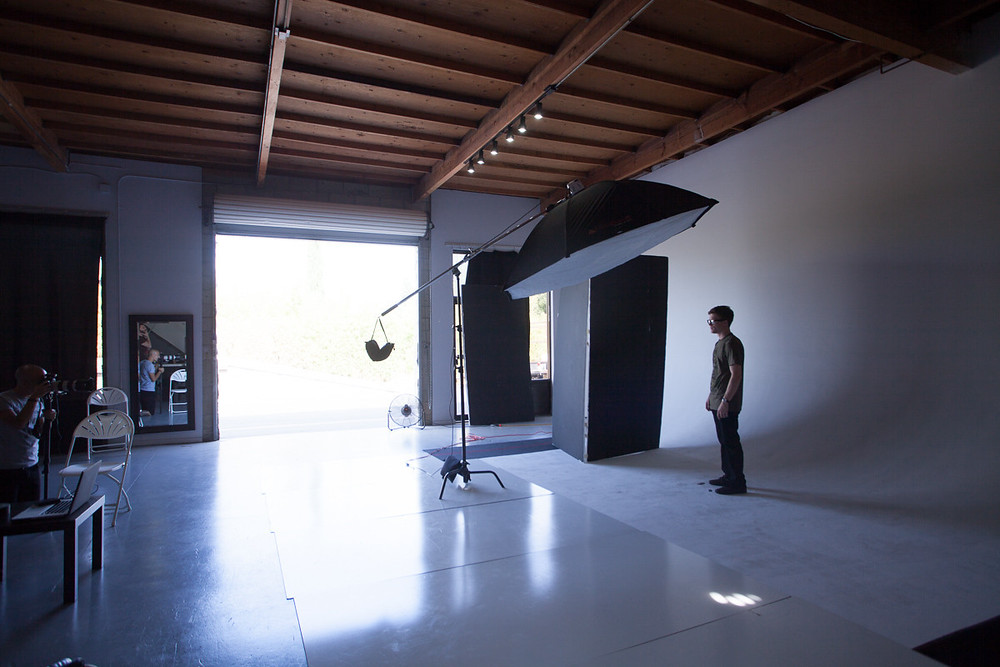
Clothing shoots were never my favorite thing to do, but I enjoy working with Kyle and over the years I have learned a ton of little tips and tricks that I wanted to share. It’s really important to have a studio when taking product shots – it can be your garage, your backyard, or you can rent a local studio. We have done all of the above, however for the most recent shoot we rented The Right Light Studio out of San Diego. Amazing place and it’s run by an awesome photographer and solid all around dude Jason Kirby.
Product shots are not like the band press shoots I usually do. For a band press shoot you need maybe 10 final images, product shots? 100-150. This means you want to do the least amount of post production possible as even little adjustments to 150 images can take a day or two. That is why I say get a studio, you want a perfectly clean gradient backdrop straight out of camera.

Alright so let’s say you get the studio, you got your models, you have some t-shirts and now what the fuck do you do. We usually start by assigning t-shirts/products to each model and then laying them out on the table in order. This way while we are shooting each model knows what to put on next.

While Kyle sorts the models out I set my lighting up. I choose to use just one light cause I like to keep it simple. You see I have multiple subjects of different heights and colors moving in and out of the same lighting set up, I don’t want to have to change it every 30 seconds. I also like to use big lighting sources so that everything is lit bigger than my subject, this way they can move a bit and it won’t affect the image’s lighting. For this shoot I used the Photoflex OctoDome3. Give em’ a little wiggle room.
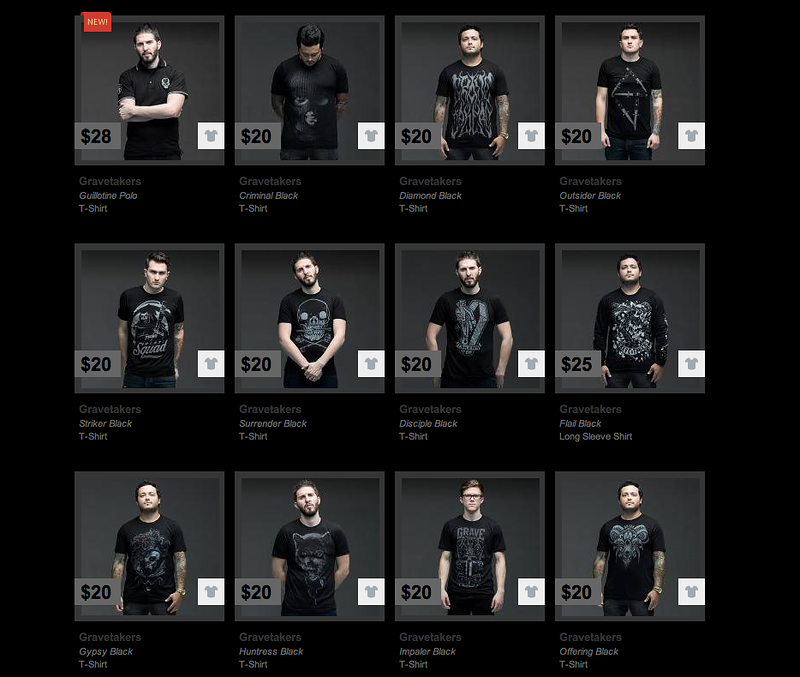
Where to set up your light? This is very important. The distance your light is from your backdrop will determine just how bright your backdrop is. The distance your light is from the subject will determine how soft your light is. For the Electric Zombie half of my shots I had my light close the backdrop- this made it more bright. For my Grave Takers images I had it much farther away, and this made it darker. When I say my light is farther or closer I also move my model as well. I keep the subject as close as possible to the light, this helps keeps it soft. I kept the same lighting on the subject for both shots, however Grave Takers was supposed to be darker, so we made the background dark gray.
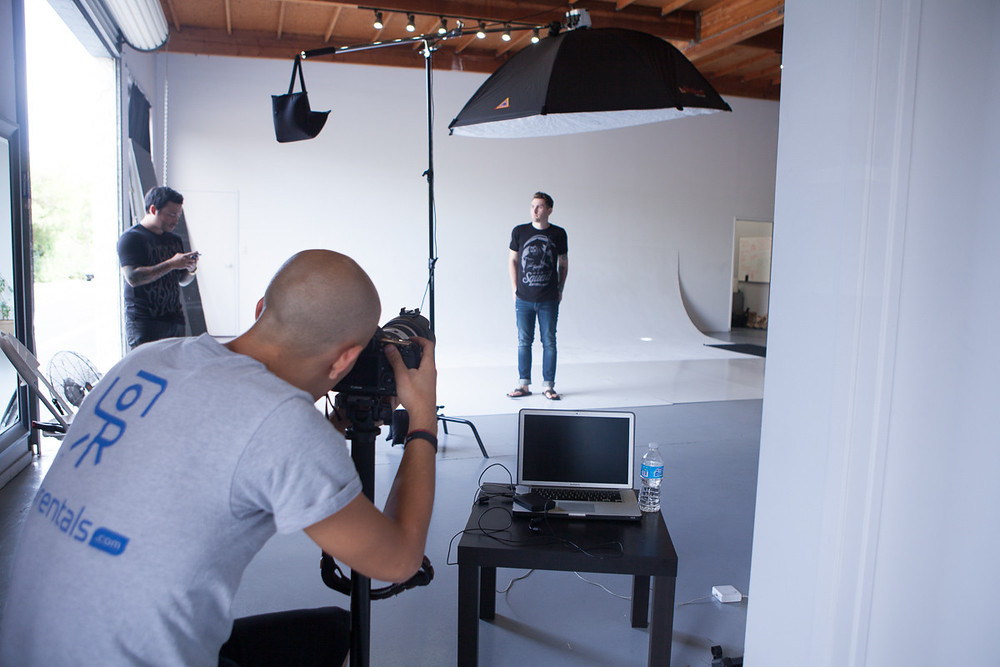
I shot with my 70-200 at about 100mm for the majority of the shoot. Ideally the longer the focal length the less of a distortion there will be on the subject. When it comes to clothing you want it to be pretty accurate as you are trying to sell a product and you want people to see what they will be getting.
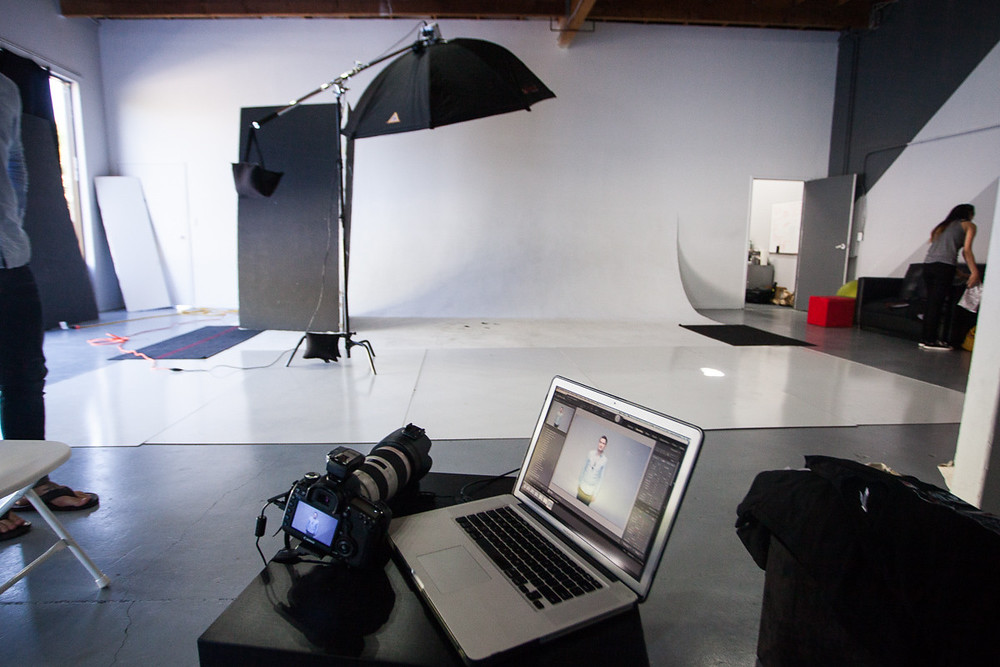
If I were to shoot wider I would also have way more of the background in the image- which we don’t need. We just need a tiny bit so that it is uniform in every image. If it was wider you might get some walls of lights or other things in the image you don’t need. The surrounding area might also be in focus which will cause the background to have visible markings that may be on your backdrop. A 100mm shot will give you background a soft slight blur and help hide any small imperfections. I also shoot tethered so that my client, Kyle, can see the images as I take them. It helps to be on the same page.
Other random tips I have picked up over the years. Shoot at about eye level, maybe a tad lower. You never want to be too low or your subject will look like they are shutting their eyes. High ceilings are a must, gotta get that light up and over your subject. Open areas are a must, need room for light to fall off, not trying to have light bouncing all over off the walls. White walls, keep your white balance neutral. Make sure everything is lit, nothing can be too dark as people need to see the design your client is selling.
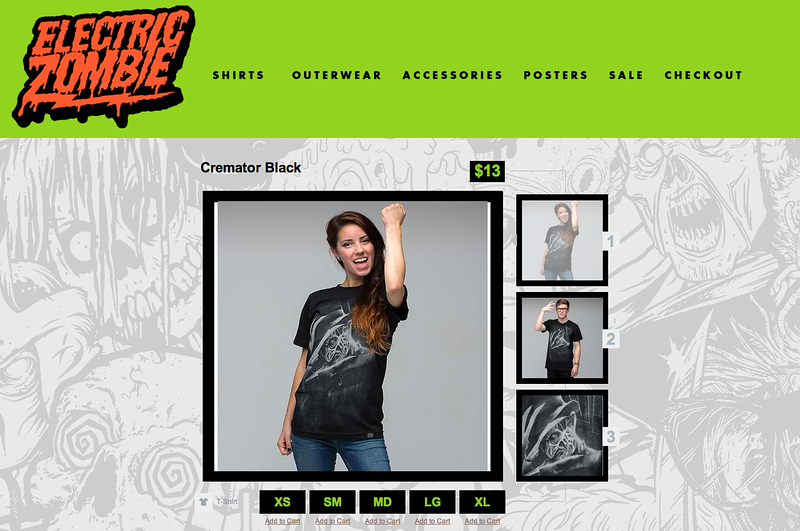
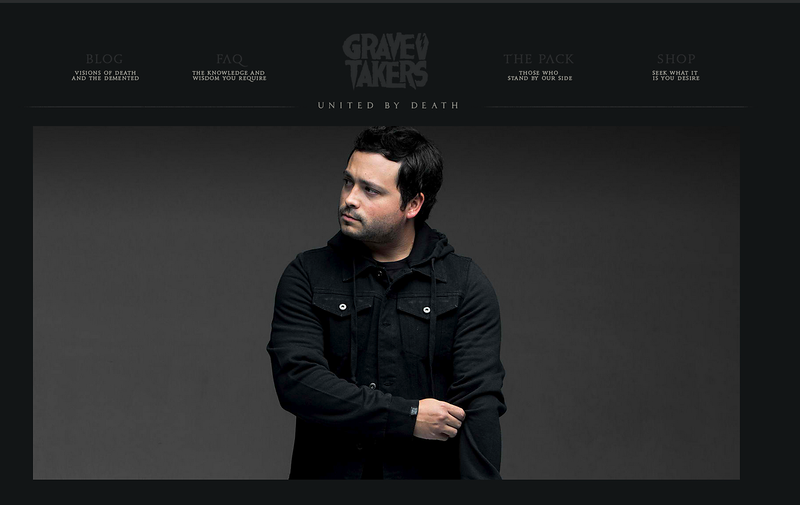
Here are a few screen caps from the website, in addition these images will also be used in magazines and for online ads.